Page View Personalization
Playbook Theme: Page View Personalization
Primary Goal: Conversion
Effort: Medium
Some of your site visitors do a lot of research before purchasing a product or service. They'll often visit static pages on your site including products, offers, and category pages. Knowing this, your organization can discover visitor intent by capturing page view data.
The visitor's exploration phase can go on for days and through multiple sessions. What you want to do as a marketer is show your visitors the most relevant offer (or message) as soon as they return to your site. This can be based on the frequency of page views on a selected list of pages and for a defined period of time (both configurable). This can help nudge them to purchase and increase the overall conversion rate.
Some experience examples that can be built using this logic:
Airlines:
Destination offers based on top viewed destination pages
Destination offers based on top viewed destination categories
Banking/Insurance:
Homepage personalization based on top viewed products
Gaming:
Last-minute bets on top viewed sports categories
Retail:
Special offers on top viewed product categories
These experiments can be built by using different Web Templates; however, the decision logic should work in the same way for all of them. Therefore, the main purpose of this article is to explain the steps to create that decision logic in a Decision Template which can be added to the Decision Canvas.
- Create a Page View Decision Template.
- Visit the Sitecore CDP GitHub repo to copy the XML into the Page Views Decision Template. Make sure to Publish it!
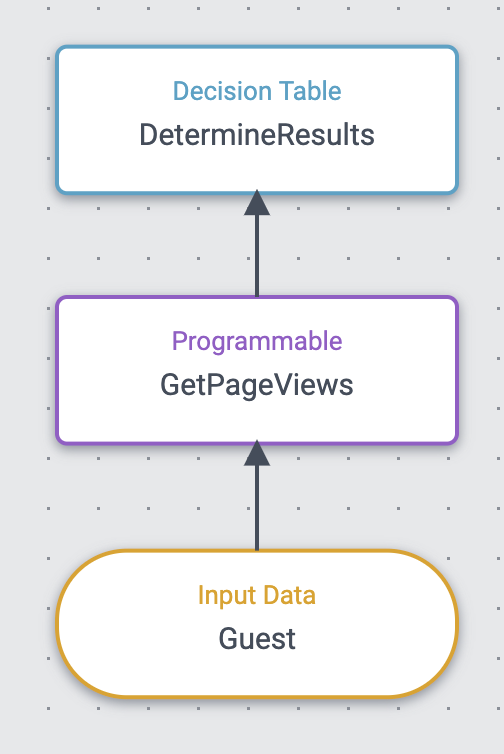
- Create a Decision Model Variant and click and drag the Page Views Decision Template to the Decision Canvas. Never done this before? Check out Creating Decision Model Variants and Adding a Decision Template to the Decision Canvas. Your canvas resembles this image:
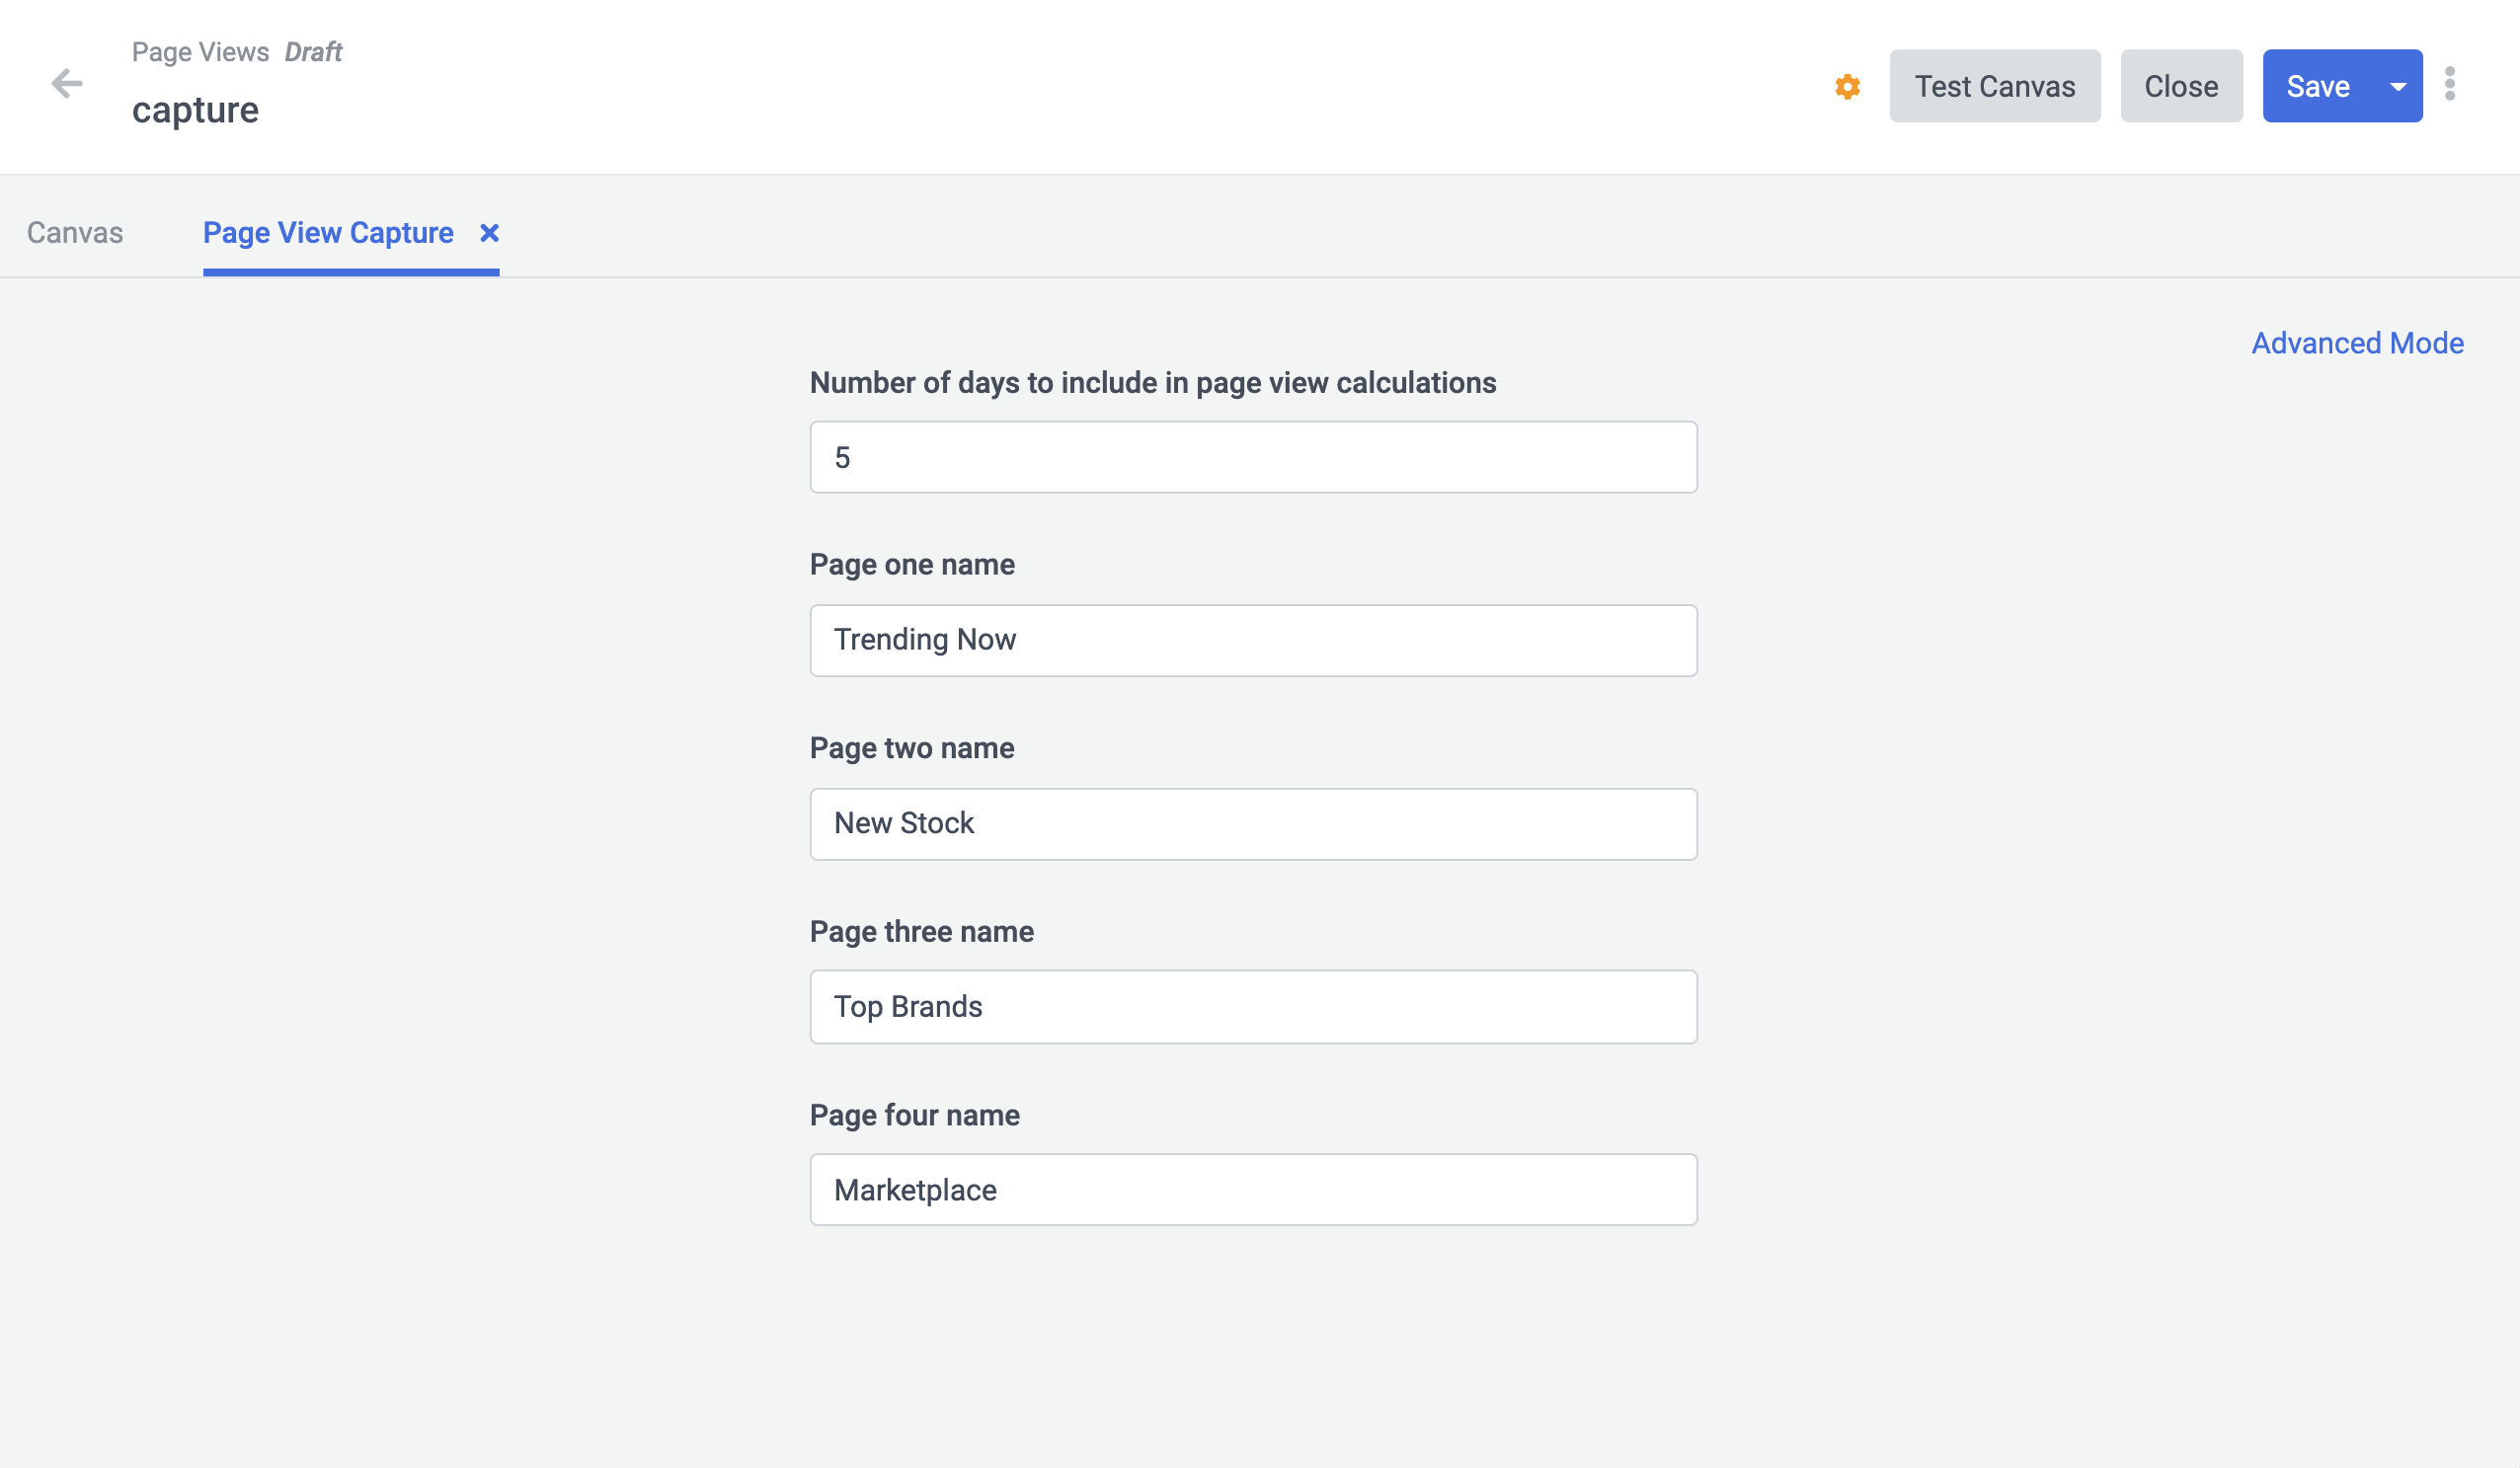
- Edit the Programmable, a Form displays for you to enter the amount of days you would like the calculations to look back on to find the most viewed page, then you can enter up to 10 pages to check.
- The page name must match the value for the page attribute captured by the Sitecore CDP Stream API in a VIEW event. To find this value, navigate to the specific page on your website or mobile app, open the developer console, click the Network tab, in the filter box type “create.json” and find a VIEW event.
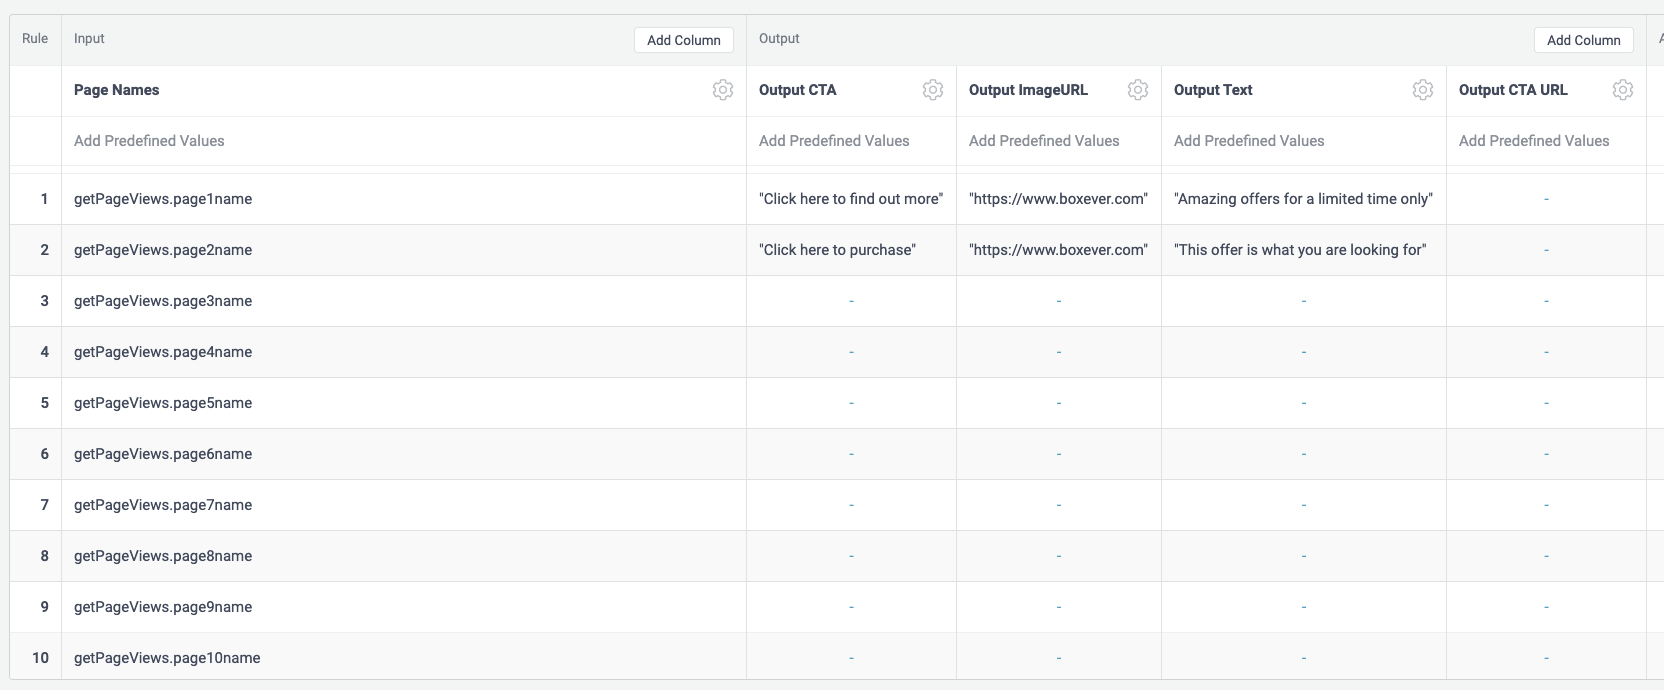
message: {"channel":"WEB","language":"EN","currency":"EUR","pos":"spinair-eu","browser_id":"0890ccc2-7074-43c0-b5e9-753277fc08b7","type":"VIEW","page":"homepage"}- Edit the Decision Table in the Canvas to include the name of the page and the output. Make sure it has Offer recommendations as the output (with an image url, description and a call-to-action at minimum):
- Save and don't forget to move your Decision Model Variant to Production.
- Create an A/B Test. Never done this before? Check out Creating Web Templates. Make sure you select the Decision Model you want to connect as described in Using a Decision Model in a Web Experiment.
- Add a Primary Goal, we recommend Conversion. Learn More
- Preview and Start the Test. Monitor the results on the Operational tab and Performance tab.

Didem Ozkan
Lead Solution Consultant
Updated 3 months ago